How to Support a Tiny House Once It’s on Site
A practical guide to keeping your home level, stable, and comfortable.
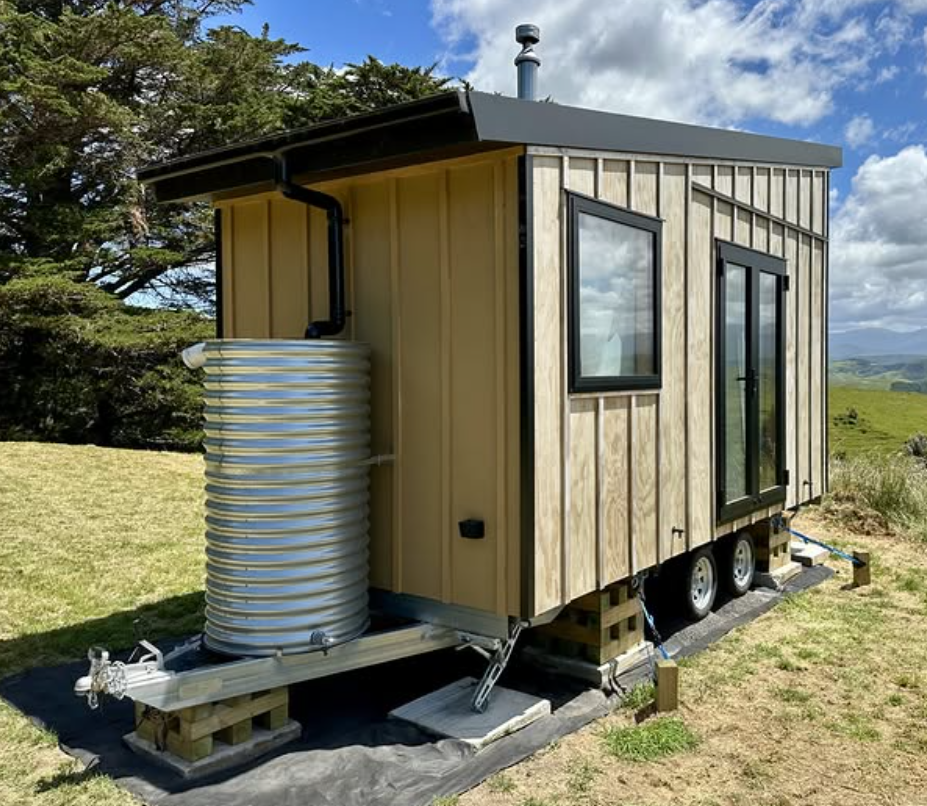
Once your tiny house is in place, the way you support it matters just as much as the trailer it arrived on. No matter which method you choose, the ground underneath must be solid. Take the time to get this right — if the house moves even a little, you’ll start seeing issues like:
Doors and windows not closing properly
Drains running slowly or backing up
Creaking or movement in wind
General instability and discomfort
A good base can be compacted gravel, concrete pads, or pavers, either covering the entire site or placed just under the support points. We also recommend laying polythene sheeting beneath the home to protect against rising damp and improve overall comfort. A sole plate under the supports can help distribute the load, for example, by using a paver under a lifting jack leg.
Below are the main support options used in New Zealand tiny homes.
1. Lifting Jacks
Many tiny house trailers come with lifting jacks. They’re excellent for levelling the home quickly and safely, and for lifting to an exact height during the build. However, jacks slot into receivers on the trailer, and there’s always a small amount of tolerance (play). That’s fine during construction, but once you’re living in the home you generally want zero movement. Larger, heavier tiny homes tend to compress this play almost completely, but lighter homes may still feel a bit “soft”. Jacks are galvanised and suitable outdoors, but they can get in the way of decks or skirting. They’re a great temporary or semi‑permanent solution, but not always ideal long‑term. See our range of lifting options here.
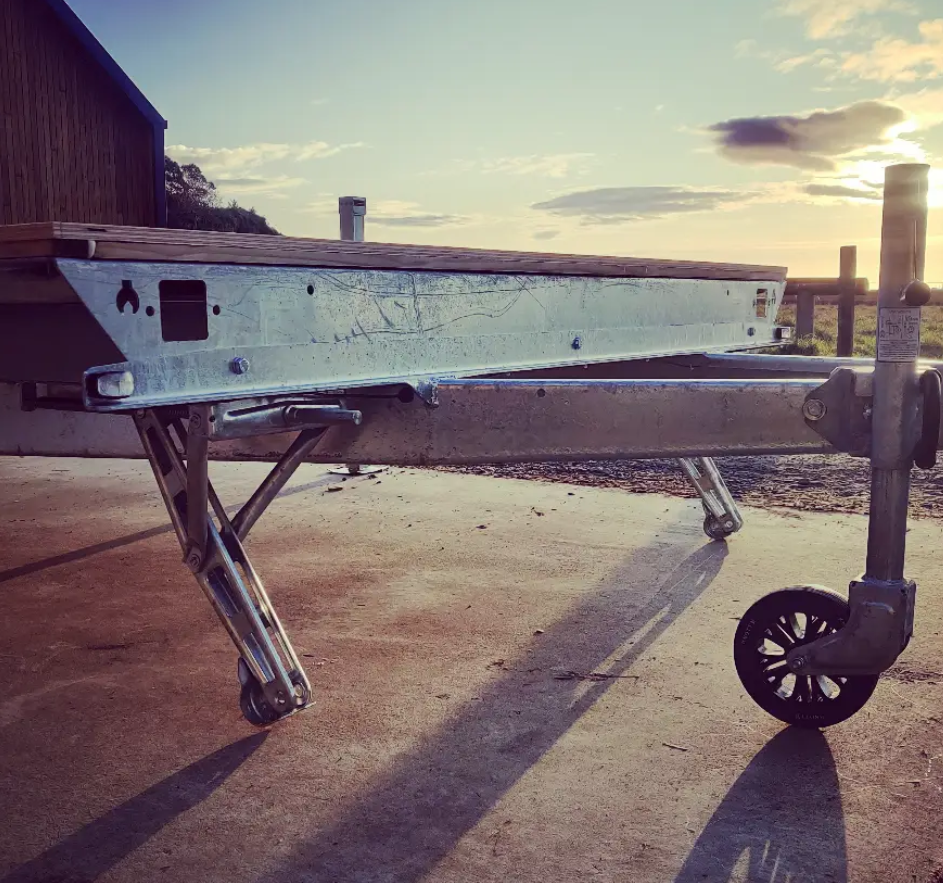
2. Corner Steadies
Corner steadies work much like caravan stabilisers. They’re quick to drop down and are designed to support, not lift.
Best suited for:
Smaller tiny homes
Homes that move more regularly
Situations where you want fast setup rather than maximum rigidity
They usually come in two variations depending on load and reach. See our accessories page here.
3. Timber Blocks
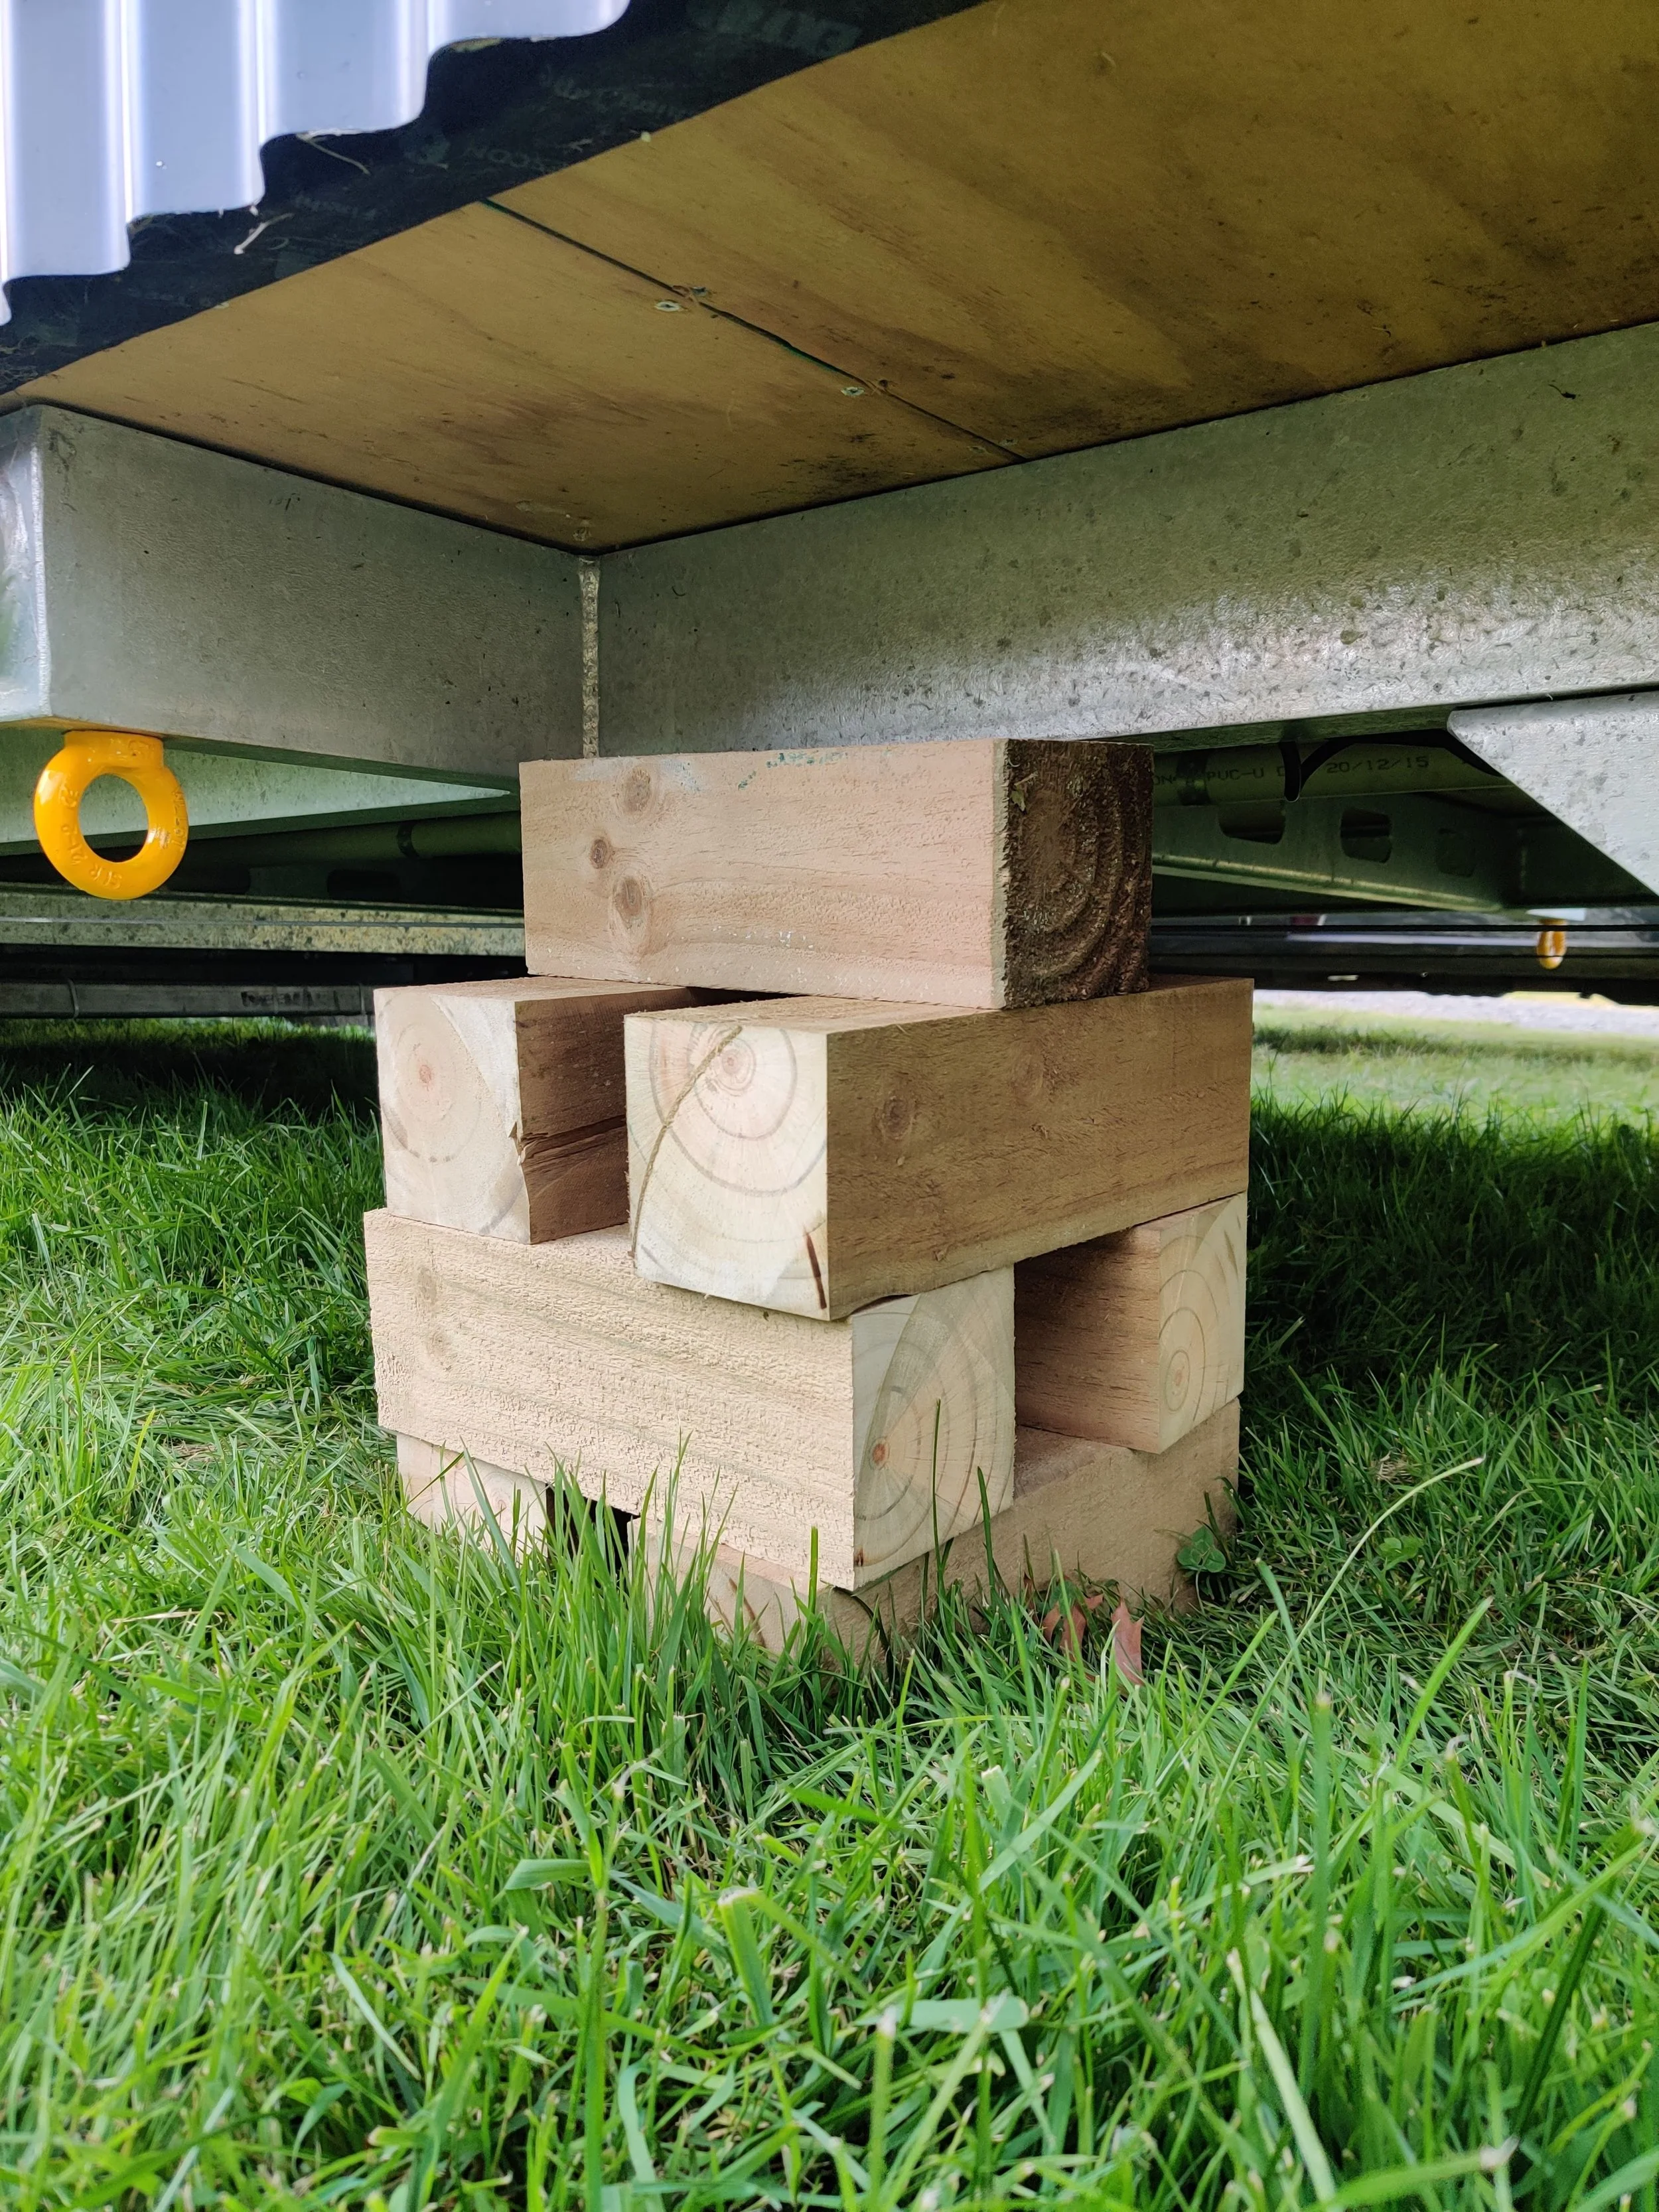
A simple, cost‑effective, and very common method. Timber blocks are stacked to create multiple support points under the home. For example, an 8m tiny house might have eight piles spaced along the chassis.
If you have lifting jacks, you can raise the home slightly above level, build your timber piles, then lower the home onto them. Use shims (ripped timber or plastic packers from the hardware store) to fine‑tune the height and achieve perfect level.
This approach is solid, affordable, and easy to adjust later, but rememeber to tie the home down to the ground.
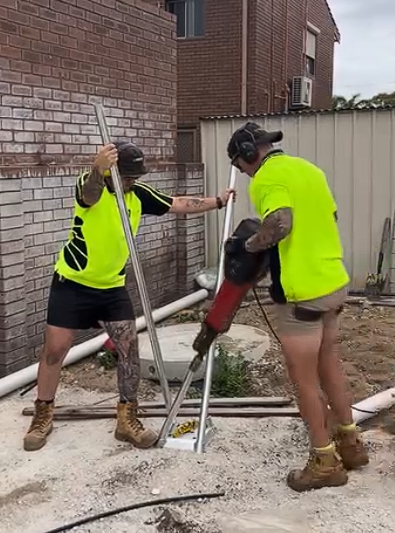
4. Screw Piles
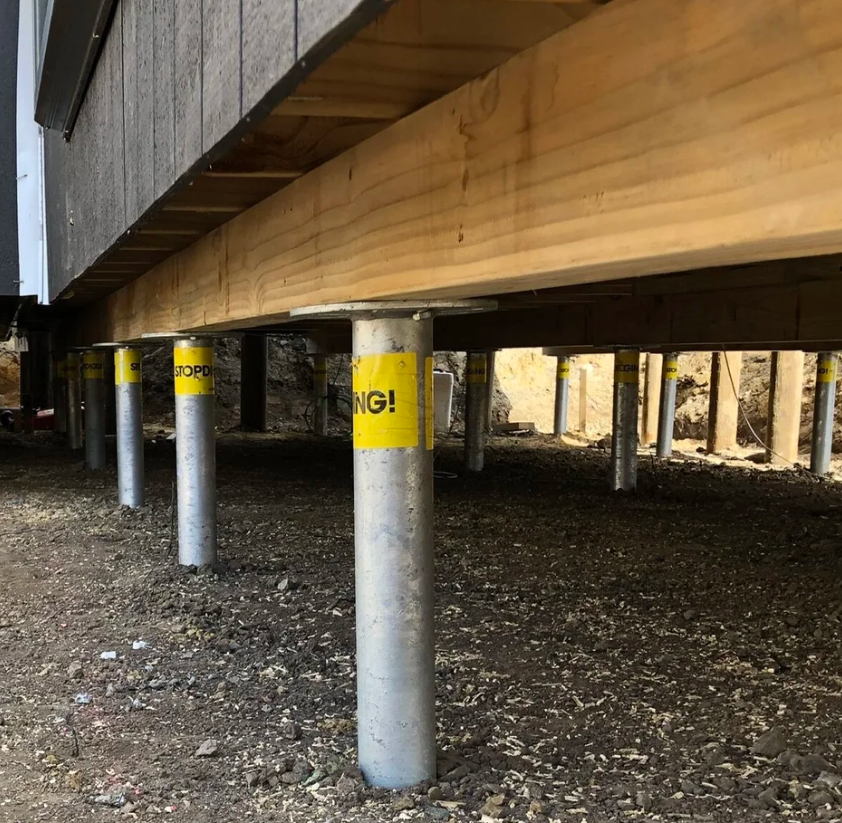
Screw piles (helical piles) are engineered steel foundations screwed deep into the ground using hydraulic machinery. They transfer load to stable soil layers, making them ideal for poor ground conditions.
Key points:
A crane is usually needed to lift the tiny house onto the prepared piles
The chassis is bolted to the pile saddles for a very rigid connection
Excellent resistance to wind uplift
More expensive and involves multiple trades
Less “temporary” than other methods, which can raise questions with councils, may need concent.
Companies providing may need to engineeer a solution.
This is the closest option to a traditional foundation system.
5. SureFoot
SureFoot is a concrete‑free footing system using galvanised steel spikes driven into the ground. It offers similar benefits and limitations to screw piles:
Fast installation
Good for uneven or soft ground
Strong uplift resistance
More cost and complexity than timber or jacks
Less temporary in the eyes of some councils
A good option where you want engineered performance without concrete.
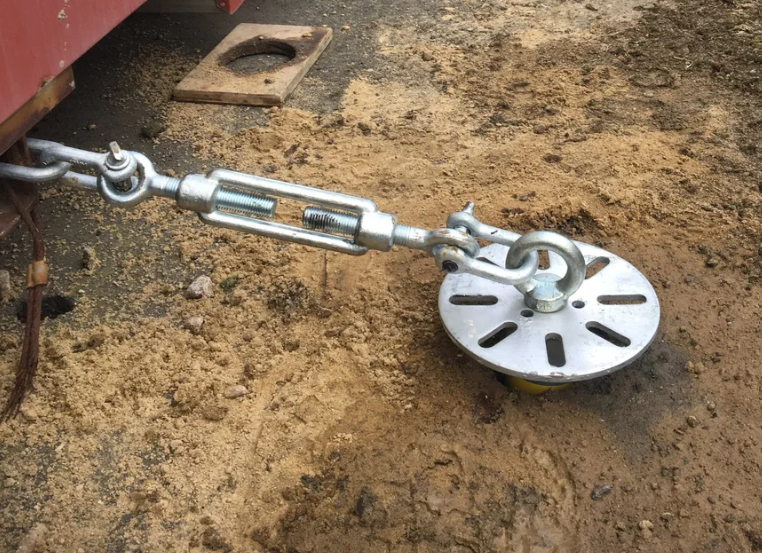
Don’t Forget: Tie‑Downs
No matter which support method you choose, the tiny house must be tied down to resist wind and flooding. We cover this in detail in our tie‑down blog.
What About the Wheels?
Most tiny homes keep their wheels on, and they do help support some of the weight. You can remove them to drop the home lower and protect them from the elements, but if they stay on, try to shield them from sun and moisture to extend their life.
Tiny House Support Options Comparison Table
| Support Method | Best For | Pros | Cons / Considerations |
|---|---|---|---|
| Lifting Jacks | Levelling during setup & building | Fast to level; precise height; often included with trailer | Small movement due to tolerance; not ideal long‑term; can obstruct decks |
| Corner Steadies | Small homes; homes moved often | Quick to deploy; simple; caravan‑style support | Supports but doesn’t lift; less rigid for full‑time living |
| Timber Blocks | Most tiny homes; cost‑effective setups | Solid and stable; adjustable with shims; affordable | Needs good base prep; manual setup; multiple piles required |
| Screw Piles | Poor soil; engineered long‑term support | Very stable; wind‑uplift resistance; deep anchoring | Higher cost; crane often needed; less “temporary” for councils |
| SureFoot | Fast, concrete‑free footings | Strong; good uplift resistance; quick install | Similar cost/complexity to screw piles; less temporary |